
Retail trades under a few thousand dollars belong on constant-product DEXs or a routing aggregator; SME trades of moderate size belong on stableswap pools like Curve or through a cross-chain aggregator that splits the order; very large trades belong on an OTC/RFQ desk, sometimes paired with a stableswap pool for the remainder. That's the whole decision tree in one sentence, and almost every execution mistake traders make comes from ignoring it: using a shallow pool for a six-figure trade, or paying a desk's minimum ticket for a $500 swap.
The reasoning comes down to how liquidity is shaped. A stableswap AMM concentrates liquidity tightly around the peg, so it barely notices a $200,000 trade that would blow out a constant-product pool's price curve. A retail trade doesn't need that machinery. It needs the cheapest gas and the tightest route, which is exactly what an aggregator is built to find.
- Retail (< $10k): Route through an aggregator on a low-fee chain. Gas dominates the cost at this size, not slippage.
- SME ($10k to $1M): Use a stableswap pool directly, or let an aggregator split the order across two or three pools to avoid tipping into the hybrid pricing curve.
- Institutional ($1M+): Go OTC/RFQ for the bulk, and consider a stableswap pool only for the residual amount that doesn't clear a desk's minimum.
Pro Tip: Before sending anything, run your trade size through a route comparison tool and check the quoted price impact against the pool's stated capacity. If the simulator shows meaningful slippage below your usual threshold, that pool is already past its zero-slippage zone for this trade.
Key Takeaways
Matching venue type to trade size, and checking pool depth before executing, is the single biggest lever traders have over stablecoin swap costs.
| Point | Details |
|---|---|
| Trade size sets the venue | Retail favors aggregators, SME favors stableswap pools, institutional favors OTC/RFQ desks. |
| Stableswap math wins at scale | The Amplification Coefficient keeps large same-denomination trades near 1:1 pricing far longer than constant-product pools. |
| Check depth before size | Confirm onchain pool depth and 24-hour volume before routing a trade near a pool's capacity limit. |
| Know your fee semantics | Deliver_amount versus receive_amount changes who absorbs cross-chain fees, so verify which mode a platform uses. |
| Compare routes with Omnirout | Omnirout's non-custodial aggregator compares fees, gas, and slippage across 30+ chains before you commit to a route. |
Where to Verify the Mechanics and Liquidity Claims in This Guide
- The Curve stableswap documentation covers the actual math behind the Amplification Coefficient, useful if you want to understand exactly how a pool's slippage curve behaves as trade size grows.
- Chainlink's stablecoin education hub breaks down the four functional stablecoin categories and their redemption mechanics, useful for assessing peg risk before routing size into an unfamiliar token.
- Bridge's stablecoin liquidity explainer walks through market liquidity, redemption liquidity, and reserve transparency, useful for diagnosing why a specific stablecoin behaves differently under stress.
- DeFiLlama's stablecoin tracker shows market cap and off-peg percentages in real time, useful as a quick pre-trade check on any token you're about to swap into size.
- The Cybrid cross-chain swap docs lay out deliver_amount versus receive_amount semantics with concrete examples, useful for understanding exactly how fees get allocated on a multi-leg cross-chain route.
This article is general information, not a substitute for advice from a qualified financial advisor. Consult a qualified financial professional about your own circumstances before acting on anything here.
Table of Contents
- What Are the Best Venues for Stablecoin Swaps by Trade Size?
- How Do You Choose the Right Venue for a Specific Trade?
- How Do You Execute an Onchain, Cross-Chain, or OTC Stablecoin Swap?
- Why Do Stableswap Pools Handle Large Trades So Much Better?
- What Risks Should You Monitor Before and After a Swap?
- How Were the Fee and Slippage Benchmarks in This Guide Collected?
- What's the Practical Playbook for Each Trade-Size Tier?
- How Our Trading Desk Actually Runs Stablecoin Swaps
- How OmniRout Helps You Execute Stablecoin Swaps Across Chains
- Sources
What Are the Best Venues for Stablecoin Swaps by Trade Size?
Five venue types cover essentially every stablecoin trade: stableswap pools, constant-product DEXs, aggregators, cross-chain bridges, and OTC/RFQ desks. Each optimizes for a different variable, and mismatching venue to trade size is the single most common way traders overpay.
Curve popularized the stableswap model, and it remains the default for large same-denomination trades because its Amplification Coefficient concentrates liquidity around $1, letting six-figure trades pass through with minimal price impact. Uniswap runs the opposite model: a constant-product curve that treats every asset pair the same way, which is fine for a $2,000 swap but expensive once you're moving real size, because the curve's slippage grows nonlinearly with trade size. Aggregators like Jumper and Eco Routes don't hold liquidity themselves. They scan across pools and chains, then route your trade through whichever combination minimizes fees and price impact, which is exactly the job a retail or SME trader wants automated. Symbiosis and Stargate operate as cross-chain infrastructure, letting a stablecoin move from one chain to another either through burn-and-mint mechanics or liquidity-pool bridging, and the choice between them affects both speed and trust assumptions. OTC and RFQ desks skip onchain pools entirely: a trader requests a quote, a market maker fills it off-chain or via a private settlement, and the trade never touches public order flow, which matters enormously once size grows into seven figures. OmniRout sits across most of these categories as a routing layer, non-custodially comparing fees, gas, and slippage across more than 30 chains so a trader doesn't have to manually check five different venues before deciding.
| Venue Type | Best For | Est. Fees & Slippage | Chains Supported | Speed | Custody Model | Practical Trade Size | Routing Model |
|---|---|---|---|---|---|---|---|
| Stableswap pool | SME to large single-chain trades | Low fee, minimal slippage until capacity limit | Usually multi-chain deployments | Seconds | Non-custodial | $10k to several million | Stableswap (constant-sum/constant-product hybrid) |
| Constant-product DEX | Small retail trades, non-stable pairs | Fee fixed, slippage grows with size | Broad, chain-dependent | Seconds | Non-custodial | Under $10k typically | Constant-product (x*y=k) |
| Aggregator | Retail and SME cross-venue routing | Finds lowest combined fee/slippage | Wide, often many chains | Seconds to a minute | Non-custodial | Under $10k to mid six figures | Route optimization across pools/bridges |
| Bridge / bridge-aggregator | Cross-chain transfers needing swap after | Bridge fee plus destination swap fee | Chain-pair specific | Minutes | Varies (lock-mint or burn-mint) | Wide range | Burn-and-mint or lock-and-mint |
| OTC / RFQ desk | Institutional block trades | Negotiated spread, no public slippage | Off-chain, settles to any supported chain | Minutes to hours | Custodial during settlement | $1M+ typically | Bilateral quote and settlement |
A few things worth knowing before you pick a lane:
- Stableswap pools handle size gracefully right up until they don't. Past a pool's effective capacity, the invariant shifts and slippage climbs fast, so check depth before assuming Curve will absorb any trade painlessly.
- Constant-product venues like Uniswap are fine for odd pairs or thin retail amounts, but using one for a $300,000 stablecoin swap is a rounding error you're choosing to pay.
- Aggregators such as Jumper and Eco Routes add real value at retail and SME size because they're comparing dozens of routes in the time it takes you to check two manually. OmniRout applies the same logic across chains, surfacing gas and slippage differences before you sign anything.
- Bridge infrastructure like Symbiosis and Stargate solves a different problem than a pool does: getting the asset to the right chain, not necessarily getting the best price once it's there. Bridge-then-swap and one-step cross-chain aggregation are two different execution paths with different fee stacking.
- OTC/RFQ desks exist for a reason: at $1 million-plus, even a deep stableswap pool starts moving price, and a negotiated block trade avoids broadcasting your size to the whole chain.
Pro Tip: If your trade would move a stableswap pool's price by more than a few basis points on a simulator, that's your signal to split the order, switch to an OTC quote, or spread execution across two pools instead of forcing it through one.
How Do You Choose the Right Venue for a Specific Trade?
Run through seven checks before you commit capital, and most bad executions get caught before they happen.
- Trade size. Under $10k, optimize for gas and route simplicity. Between $10k and $1M, optimize for pool depth and price impact. Above $1M, default to a quote request unless a specific pool is unusually deep.
- Acceptable slippage. Decide your tolerance in basis points before you open the app, not while staring at a quote that's slightly worse than expected.
- Chains involved. A same-chain swap is simpler and cheaper than anything requiring a bridge leg. If your funds and destination differ, factor in bridge time and fee stacking upfront.
- Redemption confidence. Not all stablecoins are equal here. Fiat-backed tokens with transparent reserves behave differently under stress than algorithmic or crypto-collateralized designs, and liquidity depends on issuer reserve transparency and redemption rails as much as onchain pool depth.
- Custody preference. Non-custodial DEXs and aggregators keep your keys with you the whole time. OTC desks require handing over custody during settlement, which is an acceptable tradeoff for size but not one to take lightly for smaller trades.
- Timing and settlement urgency. A bridge leg during network congestion can take far longer than usual. If you need finality in the next five minutes, that changes which venue makes sense.
- KYC constraints. OTC desks almost always require identity verification. Onchain venues typically don't. Decide which tradeoff you're willing to accept before you're mid-trade.
For quick onchain diagnostics, check a pool's 24-hour volume and depth relative to your trade size, and glance at a stablecoin's market cap and off-peg percentage on a tracker if you're swapping into or out of anything less than the top handful of tokens.
Pro Tip: Every stableswap pool has an effective zero-slippage capacity governed by its Amplification Coefficient, and most swap interfaces show you the current price impact before you confirm. Size your order to stay inside that window; once you cross it, the pool shifts to hybrid pricing and cost per dollar swapped rises noticeably.
How Do You Execute an Onchain, Cross-Chain, or OTC Stablecoin Swap?
The mechanics differ enough by venue type that treating them identically is where most slippage surprises come from.
Onchain single-chain swaps:
- Confirm your wallet holds enough of the chain's native gas token; a swap can revert mid-transaction if gas runs out before confirmation.
- Select a route through an aggregator or pool interface and compare quoted price impact across two or three options before committing.
- Set a slippage limit that matches your risk tolerance, typically 0.1% to 0.5% for stableswap pools and wider for thinner venues.
- Check the pool's stated capacity or depth indicator if the interface shows one; this tells you whether you're inside the zero-slippage zone.
- Sign the transaction and confirm the executed price matches the quote within your slippage tolerance.
- After confirmation, verify the received amount onchain rather than trusting the interface's success message alone.
Cross-chain swaps split into two practical paths. One-step aggregators (the Jumper and OmniRout model) combine the bridge and swap into a single signed transaction, which is faster and usually cheaper because you're not paying two separate gas fees on two separate chains. Bridge-then-swap means manually bridging via something like Stargate or Symbiosis, waiting for the asset to land, then executing a separate swap on the destination chain. It's slower and involves more manual steps, but it can be the only option when an aggregator doesn't support your specific chain pair. Burn-and-mint bridges destroy the token on the source chain and mint a fresh equivalent on the destination, which avoids wrapped-asset risk but depends entirely on the bridge's mint authority being sound.
OTC/RFQ for large trades starts with a quote request specifying size and settlement chain. The desk returns a firm price, usually valid for a short window. You confirm, provide settlement instructions (a wallet address, sometimes a custodial account), and the desk executes off-chain before delivering the asset onchain. Reconciliation means checking the delivered amount against the quoted amount and settlement timestamp, since desks vary in how fast they finalize after quote acceptance.

One detail that trips up cross-chain traders constantly: deliver_amount versus receive_amount semantics. If a platform lets you fix the receive_amount, you're typically paying fees on top of that number. If you fix deliver_amount instead, fees get deducted from what arrives, meaning you receive less than the raw quote suggests. Always check which mode you're in before assuming a quoted number is what lands in your wallet.
Pro Tip: Pending cross-chain transactions sitting in a mempool for more than a few seconds are exposed to sandwich attacks, especially on congested chains. Set a tight slippage limit, avoid round-number trade sizes that bots scan for, and if a route simulator shows a long pending window, consider splitting into a smaller test transaction first.
Why Do Stableswap Pools Handle Large Trades So Much Better?
Stableswap math exists because two nearly identical assets shouldn't behave like a volatile trading pair, and forcing them through the same pricing curve wastes capital.
Curve's Stableswap invariant blends constant-sum math (which prices trades at a flat 1:1 ratio) with constant-product math (which prices trades along a curve that steepens as one side depletes). The blend is controlled by the Amplification Coefficient, usually written as A. A higher A value flattens the curve near the peg, meaning trades stay close to 1:1 pricing across a much wider range before the curve kicks in and slippage starts climbing. That's the entire mechanical reason a $500,000 USDC-to-USDT swap barely moves price on a well-configured Curve pool, while the same trade on a constant-product venue would visibly shift the exchange rate.
Constant-product AMMs, the Uniswap model, treat every pair the same regardless of correlation. That design is elegant for volatile, uncorrelated assets, but it's inefficient for two tokens that are both supposed to sit at $1. Concentrated liquidity AMMs (CLAMMs) improve on this by letting liquidity providers cluster capital in a tight price band, which helps, but they still don't match a purpose-built stableswap curve for pure stable-to-stable pairs, and they carry more active management risk for LPs who have to keep repositioning their range.
Practitioners increasingly treat stableswap pools as the default venue for large same-denomination trades, and stablecoin transaction volume hitting record highs has only reinforced that most of the big flow now routes specifically through these concentrated-liquidity designs rather than generic constant-product pools.
A few practical implications:
- A stableswap pool with a low
Abehaves more like a constant-product pool, so not every stableswap-labeled pool is automatically deep or cheap. Check the actual parameter, not just the pool's category label. - Amplification helps until it doesn't. Beyond a pool's threshold capacity, the invariant transitions and slippage accelerates, which is why checking depth before a large trade still matters even on a stableswap venue.
- Constant-product and CLAMM venues remain the right call for non-stable pairs or thin retail trades where deep stableswap infrastructure doesn't exist yet.
What Risks Should You Monitor Before and After a Swap?
Five risk categories account for nearly every bad outcome in stablecoin trading, and none of them require exotic knowledge to check.
Issuer redemption risk sits at the top. Stablecoins fall into four functional categories: fiat-backed, crypto-collateralized, algorithmic/hybrid, and RWA/yield-bearing, and each carries different redemption mechanics. A fiat-backed token with transparent, audited reserves behaves very differently under stress than an algorithmic design with thinner backing. Check reserve transparency before trusting a token's peg during volatility, not after.
Pool depth thinness is the second-most common surprise. A pool that looks fine on a quiet Tuesday can be dangerously shallow during a market event when everyone's trying to exit the same side simultaneously. Cross-referencing onchain depth and 24-hour volume before a large trade takes thirty seconds and saves real money.
Bridge congestion and bridge exploits rank third. Cross-chain infrastructure has historically been the softest target in the stack, and congestion alone (not even an exploit) can strand funds in a pending state for uncomfortably long stretches during high-traffic periods.
Oracle updates and sandwich risk matter more than most traders assume. Rapidly updating oracle prices can re-center a stableswap pool's balance, and while dynamic fee designs mitigate some of this, they don't eliminate the underlying sandwich vulnerability during a pending transaction.
CEX withdrawal halts round out the list. If your execution plan depends on moving funds off a centralized exchange first, a sudden withdrawal pause turns a five-minute plan into a multi-hour one, and it's worth having a backup path that doesn't depend on any single custodial rail.
Practical monitoring habits worth building into every trade:
- Check a stablecoin's off-peg percentage and recent 1-month/7-day trend before routing size into it.
- Glance at reserve transparency reports for any token you're not already deeply familiar with.
- Watch bridge status pages or relayer dashboards before initiating a cross-chain leg during known high-traffic periods.
- Run a route simulator, then send a small test transaction on a new chain or unfamiliar stablecoin before committing the full amount.
Pro Tip: When trying a new chain or a less-liquid stablecoin for the first time, send a test transaction worth a few dollars before the real trade. It costs almost nothing and confirms the route, the gas assumptions, and the receive amount actually behave the way the simulator predicted.
How Were the Fee and Slippage Benchmarks in This Guide Collected?
Benchmarking stablecoin swap costs requires sampling across trade-size buckets, since a $500 swap and a $500,000 swap experience completely different cost structures on the same venue.
- Define trade-size buckets. Retail (under $10k), SME ($10k to $1M), and institutional ($1M+) were sampled separately, since cost drivers shift meaningfully between them, gas dominating at the low end and price impact dominating at the high end.
- Set sampling windows. Quotes were pulled across varied market conditions rather than a single snapshot, since pool depth and gas prices both fluctuate meaningfully within a trading day.
- Record quoted versus executed slippage. The gap between what an interface quotes before signing and what actually settles onchain is itself a data point worth tracking, particularly on less-liquid pools.
- Log onchain pool depth and 24-hour volume for each venue at the time of sampling, since a pool's depth today doesn't guarantee the same depth tomorrow.
- Note gas assumptions per chain, since fee comparisons across chains are meaningless without holding gas price conditions roughly constant or clearly stated.
- Track settlement latency separately for same-chain swaps, bridge-then-swap flows, and OTC settlement, since these differ by orders of magnitude.
| Parameter | Retail bucket | SME bucket | Institutional bucket |
|---|---|---|---|
| Trade size range | Under $10k | $10k to $1M | $1M+ |
| Primary cost driver | Gas and route selection | Price impact and pool depth | Negotiated spread |
| Sampling focus | Aggregator route comparison | Stableswap pool depth and capacity | OTC quote spread vs onchain simulation |
| Typical settlement path | Same-chain or one-step cross-chain | Stableswap pool or split-order aggregator route | RFQ desk with optional stableswap residual |
What's the Practical Playbook for Each Trade-Size Tier?
Here's the compressed version you can act on immediately, without re-reading the reasoning above.
- Retail, small trades: Use an aggregator on a low-fee chain such as Polygon, where DEX infrastructure is built for cheap, low-slippage stablecoin swaps compared with many Layer 1 alternatives. Set a slippage guard rail matching your tolerance, and confirm your wallet holds enough native gas before you route anything cross-chain.
- SME, moderate trades: Default to a stableswap pool directly if depth supports your size, or let an aggregator split the order across multiple pools once you approach a pool's capacity ceiling. Use a one-step cross-chain aggregator for multi-chain trades under a moderate size; switch to manual bridge-then-swap only when your target chain pair isn't supported by an aggregator.
- Institutional, large trades: Request an OTC/RFQ quote for the bulk of the trade, and treat any onchain leg as residual amounts that don't clear the desk's minimum ticket. Confirm settlement instructions and custody handoff terms before quoting, and reconcile the delivered amount after settlement.
How Our Trading Desk Actually Runs Stablecoin Swaps
Every trade above five figures goes through the same preflight sequence on our desk: check pool depth against trade size, run a route simulator, and only then decide whether the trade stays onchain or moves to an OTC quote. That order matters. Skipping the depth check is how traders end up eating slippage they didn't need to pay.
We treat $1 million as a soft line, not a hard rule. A stableswap pool with genuinely deep liquidity can sometimes absorb a $1.2 million trade more cheaply than a desk's spread would cost, so the size threshold is really a proxy for "check the pool first, then decide." What we won't compromise on is the small test transaction before touching an unfamiliar chain or a stablecoin we haven't routed before. It costs a few dollars and it's caught more than one route that would have failed silently on the full-size attempt.
Pro Tip: Combine an aggregator's simulated route output with a small live test transaction before committing size to a new chain. The simulator tells you what should happen; the test transaction confirms what actually does, and the two occasionally disagree in ways that matter.
How OmniRout Helps You Execute Stablecoin Swaps Across Chains
Omnirout is the tool for comparing routes before you commit capital, not another venue competing for your liquidity. Every problem covered above, from picking the wrong AMM type to eating a bridge fee you didn't need to pay, comes down to not comparing routes before executing. Omnirout solves that specific gap: it scans across more than 30 blockchains, surfaces fees, gas, and slippage side by side, and lets you pick the cheapest path while keeping your keys the entire time.
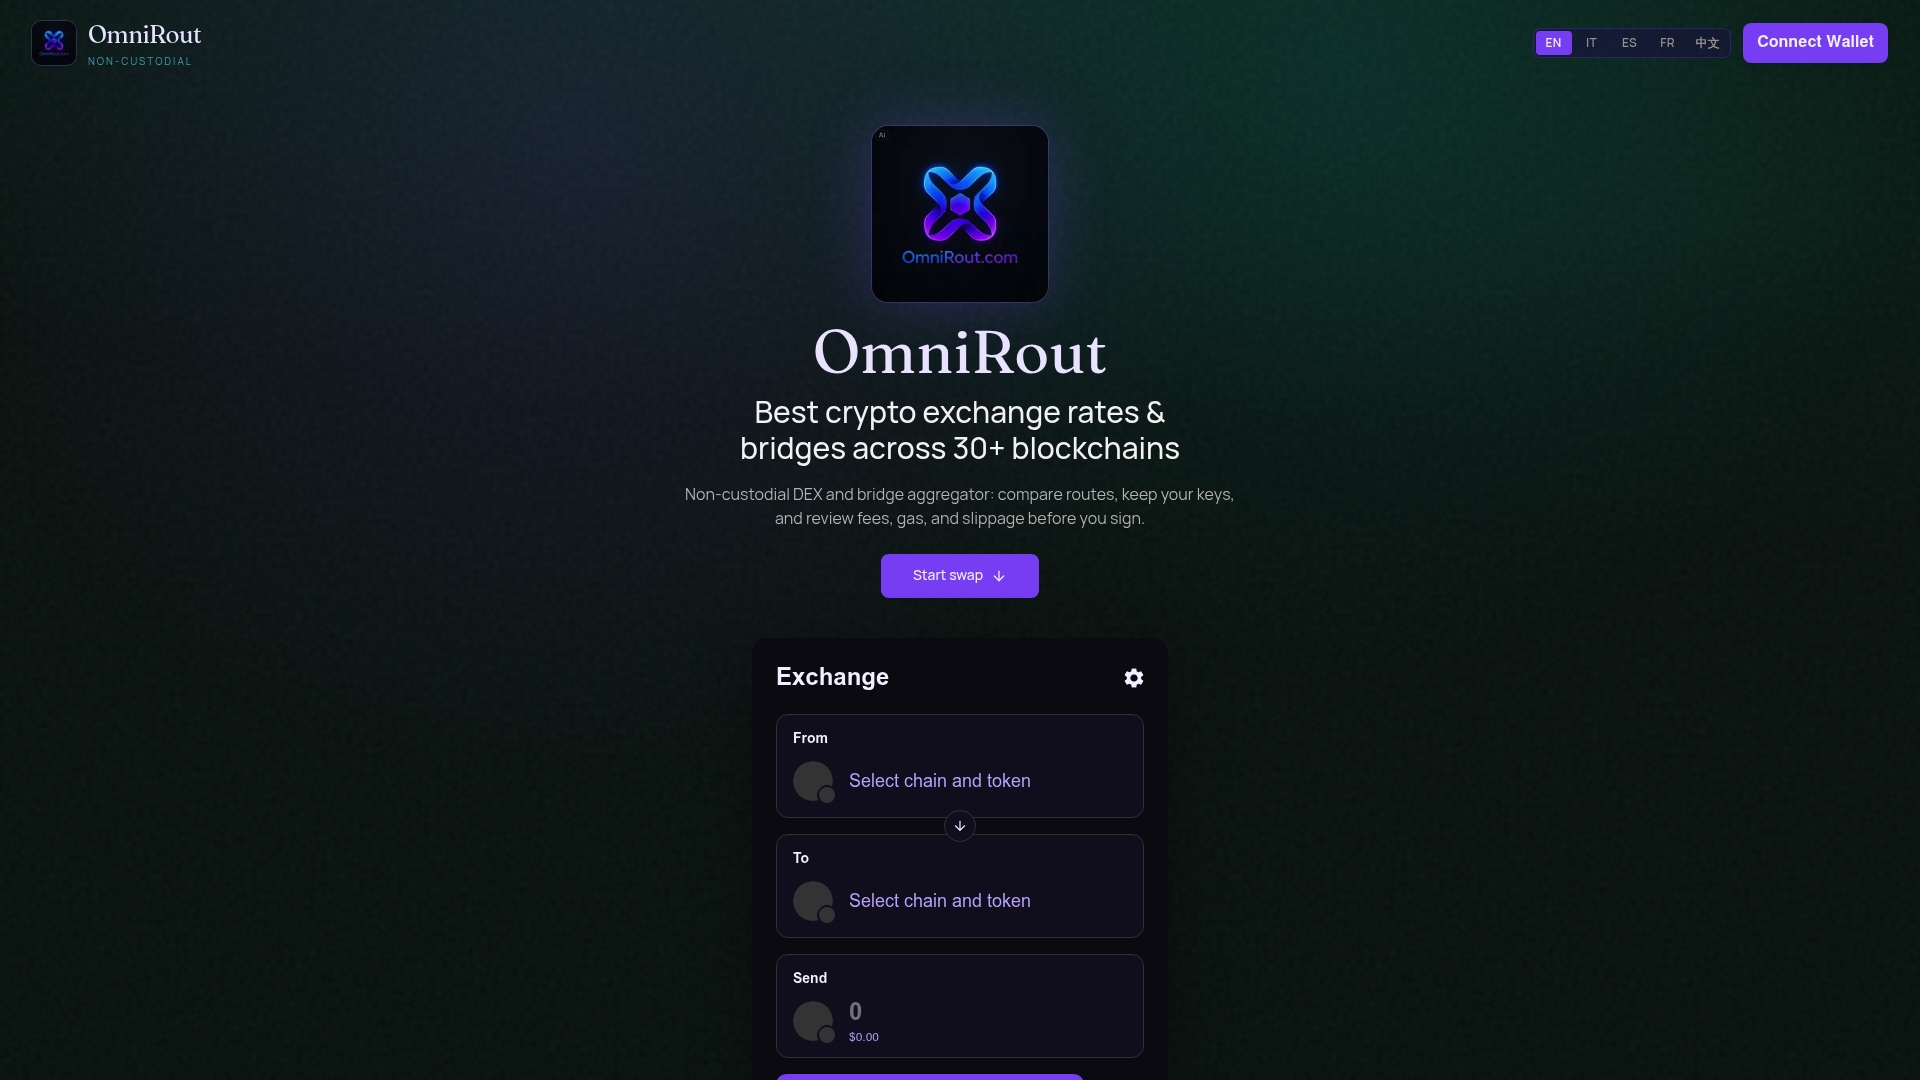
Picture a $150,000 stablecoin swap that needs to land on a different chain than where it started. Routed manually, that's a bridge fee, a separate gas payment on the destination chain, and a swap fee on top, each priced without any visibility into whether a cheaper combined path exists. Routed through Omnirout's comparison engine, you see the total cost and price impact across several combined bridge-and-swap paths before signing anything, often catching a meaningfully cheaper route than the first option an interface shows you by default. Compare your next stablecoin swap on Omnirout before you send it, and see the fee and slippage difference for yourself.
Sources
- Stablecoins — Chainlink Education Hub
- Understanding stableswap — Curve documentation
- Stablecoin liquidity: how it works and why it matters — Bridge
- Stablecoins — DeFiLlama
- Cross-Chain Stablecoin Swaps — Cybrid docs