
Pick your chain by matching trade size to total cost and finality risk, not by habit or whichever network your wallet defaults to. Small swaps favor cheap, fast L2s; large transfers favor deep liquidity and proven rails even if gas runs higher. You need the native gas token on the source chain either way. The sections below break down how to calculate that total cost and run a five-step checklist before you sign anything.
TL;DR:
- Always compare net receive amounts after deducting all fees, slippage, and gas costs instead of relying on headline swap rates or fee line estimates.
- For small trades under a few hundred dollars, prioritize low-cost Layer 2 networks with sufficient liquidity; larger trades benefit from deeper liquidity and proven transfer routes.
- Large transfers require routes with high finality and redundancy, avoiding small savings in fees to minimize risk and ensure successful completion.
- Cross-chain swaps often involve multiple signatures and longer finality windows, which are normal and should not be mistaken for scams or errors.
- Use tools that display side-by-side route comparisons to identify the most cost-effective options based on actual net receive, not just gas prices or fee percentages.
Table of Contents
- What Should You Actually Check Before Picking a Chain?
- How Do You Actually Calculate the True Cost of a Swap?
- Which Chain Fits Your Trade Size and Asset Type?
- How Do You Run a Pre-Swap Checklist Before You Sign?
- What Does Route Comparison Actually Save You in Practice?
- Try the Workflow on OmniRout
- Sources
What Should You Actually Check Before Picking a Chain?
Chain selection for swaps comes down to five variables, and most traders only check one or two of them. Here's what actually moves your final receive amount.
Fee stack. Every swap carries three cost layers stacked on top of each other: gas paid in the chain's native token, the provider or bridge fee for routing the trade, and price impact from moving size through a pool. Miss any one of these and your mental math on "cheap" versus "expensive" chains will be wrong.
Slippage and pool depth. A shallow pool can quote a great headline rate and still cost you more once your order actually executes. Slippage rises non-linearly as your trade size approaches the depth of the pool you're trading against, which is why a $50 swap and a $50,000 swap on the same pair can behave completely differently on the same chain.
Latency and finality. Some chains confirm in seconds; others need multiple block confirmations before a transfer is truly final. That gap matters little for a $30 trade. It matters a great deal when you're moving a five-figure position across a bridge and want certainty it landed before you act on it.
- Native gas token: hold enough on the source chain, or the transaction won't even submit
- Provider and bridge fees: often quoted as a percentage, but check the flat components too
- Price impact: scales with your order size relative to pool liquidity
- Finality window: ranges from near-instant to several minutes depending on the chain and route
One detail traders forget: cross-chain routes sometimes require multiple signatures across legs of the trade, not just one. If your wallet flags a second or third signing prompt, that's normal for a multi-hop route, not a scam warning.
How Do You Actually Calculate the True Cost of a Swap?
The only number that matters is your net receive amount, the tokens that land in your wallet after every fee and every unit of slippage. A cross-chain swap presents one quoted "you receive" figure that already folds in bridge fees, provider fees, and expected slippage, so comparing that single number across routes beats trying to add up fees yourself.
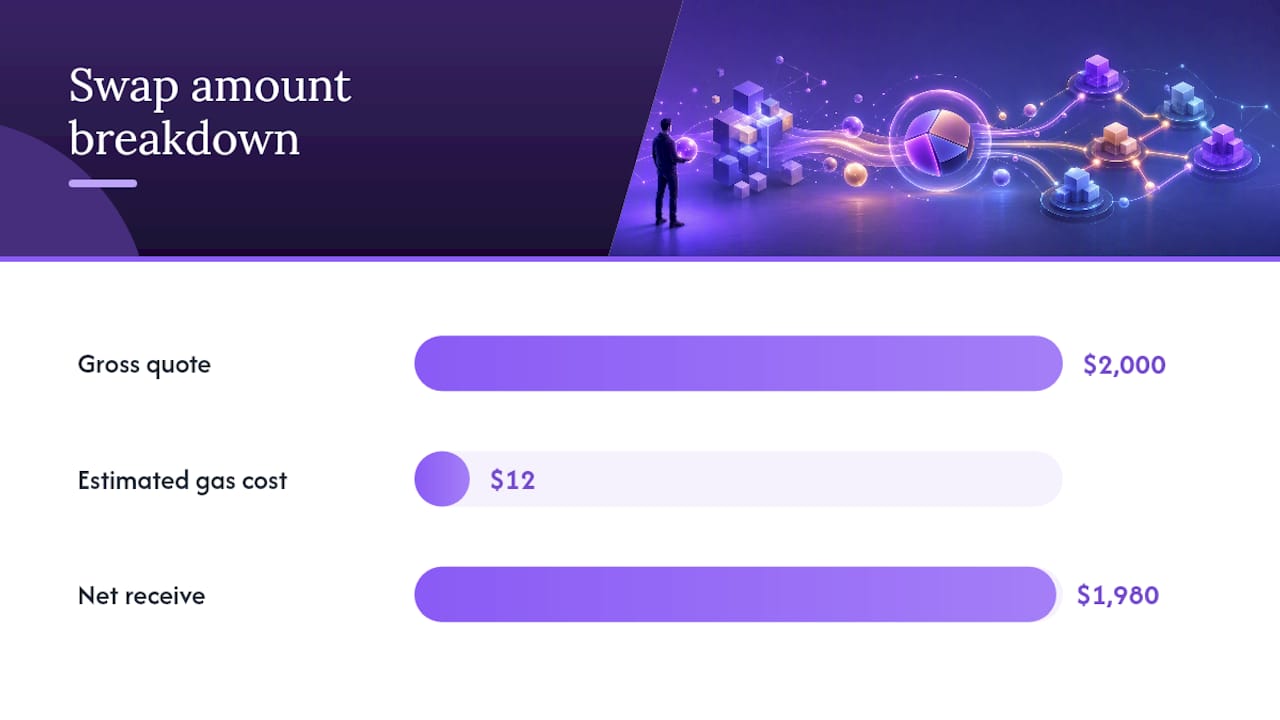
Here's a quick example. Say you're swapping $2,000 of ETH for USDC. Gas is estimated at 0.004 ETH, and ETH is trading at $3,000, so that's $12 in gas. Your net receive lands around $1,980, not the $2,000 headline number.
- Get the gross quote from your source token
- Subtract provider and bridge fees
- Subtract estimated gas in the source token's native currency
- Subtract expected price impact based on pool depth for your trade size
- Compare that final net receive number across every candidate chain, not the sticker price of any single fee
Same-chain swaps skip the bridge fee and settlement wait entirely, which usually makes them cheaper for pairs that trade well on one network. Cross-chain routing earns its cost when the asset you want simply doesn't have deep liquidity where you're currently holding funds, or when intent-based routing can settle the whole path in one signed action instead of you manually bridging and then swapping.
Pro Tip: Don't judge a chain by its gas fee alone. A network can look like the "cheap" option on paper and still cost you more overall if the specific pair you're trading has thin liquidity there. Always check the net receive number, not the fee line.
Which Chain Fits Your Trade Size and Asset Type?
Your trade size should dictate your priorities more than any general chain reputation.
- Small retail swaps (roughly under a few hundred dollars): chase the lowest total cost. Fast, low-fee Layer 2 networks usually win here, provided your token actually has liquidity on that L2. A Layer 2 route that trims your gas from $15 to $0.50 matters proportionally far more on a small trade than a large one.
- Medium swaps (low thousands): liquidity depth starts to outweigh raw fee size. A chain with a deeper pool for your exact pair, even at a slightly higher gas cost, often beats the "cheapest" chain once slippage is factored in.
- Large transfers (five figures and up): prioritize finality and track record over saving a few dollars in fees. Established rails with strong liquidity matter more than shaving basis points, and splitting a large transfer across two rails adds redundancy if one route stalls or a bridge pauses.
- Stablecoin pairs: use native stable assets on both ends when possible. Routing through a volatile intermediate asset during a multi-leg swap exposes you to price movement mid-route that has nothing to do with fees at all.
Asset type changes the calculus too. A token that only exists natively on one chain forces your hand regardless of fees, while a widely wrapped asset like USDC or WBTC gives you real chain choice, which is exactly where comparing routes pays off.
How Do You Run a Pre-Swap Checklist Before You Sign?
Run these five steps in order, every time, and you'll catch most of the expensive mistakes before they happen.
- Confirm token support and gas balance. Check that your source chain actually lists the token you're swapping, and confirm you're holding enough of the native gas token to cover the transaction. Guides consistently point to holding native gas and previewing your route as the two steps traders skip most often.
- Pull full-route quotes and compare net receive. Convert the gas estimate to USD using current native token price, then look at the final number after every fee, not the headline rate.
- Set slippage tolerance to match your trade size. A larger order against a shallow pool needs a wider tolerance to avoid failed transactions, but too wide invites a worse fill.
- Favor shorter settlement or dual-rail routes for large amounts. If you're moving serious size, a route with redundancy across two paths reduces the risk of one bridge or rail stalling mid-transfer.
- Preview every signed message and destination address before confirming. A chain selector interface that updates token lists per chain helps you catch a wrong network before you sign, not after.
Pro Tip: For volatile pairs, consider routing through a stablecoin hop. Converting to USDC or USDT mid-route locks in value during the transfer instead of leaving you exposed to price swings on both legs of a multi-hop swap.
What Does Route Comparison Actually Save You in Practice?
Comparing routes side by side, fees, gas, and slippage all in one view, turns chain selection from a guess into a calculation. I've seen quoted rates on two chains for the same pair differ by more than the total fee on either one, purely because of pool depth. That's the number that matters, not gas price alone. Published routing guides and non-custodial designs that let you keep your own keys are the two signals worth checking before you trust any aggregator with this decision.
— Emanuele
Try the Workflow on OmniRout
This platform offers a non-custodial DEX and bridge aggregator that compares routes across multiple blockchains so you can see net receive, gas estimates, and slippage side by side before you sign anything, while retaining control of your own keys.
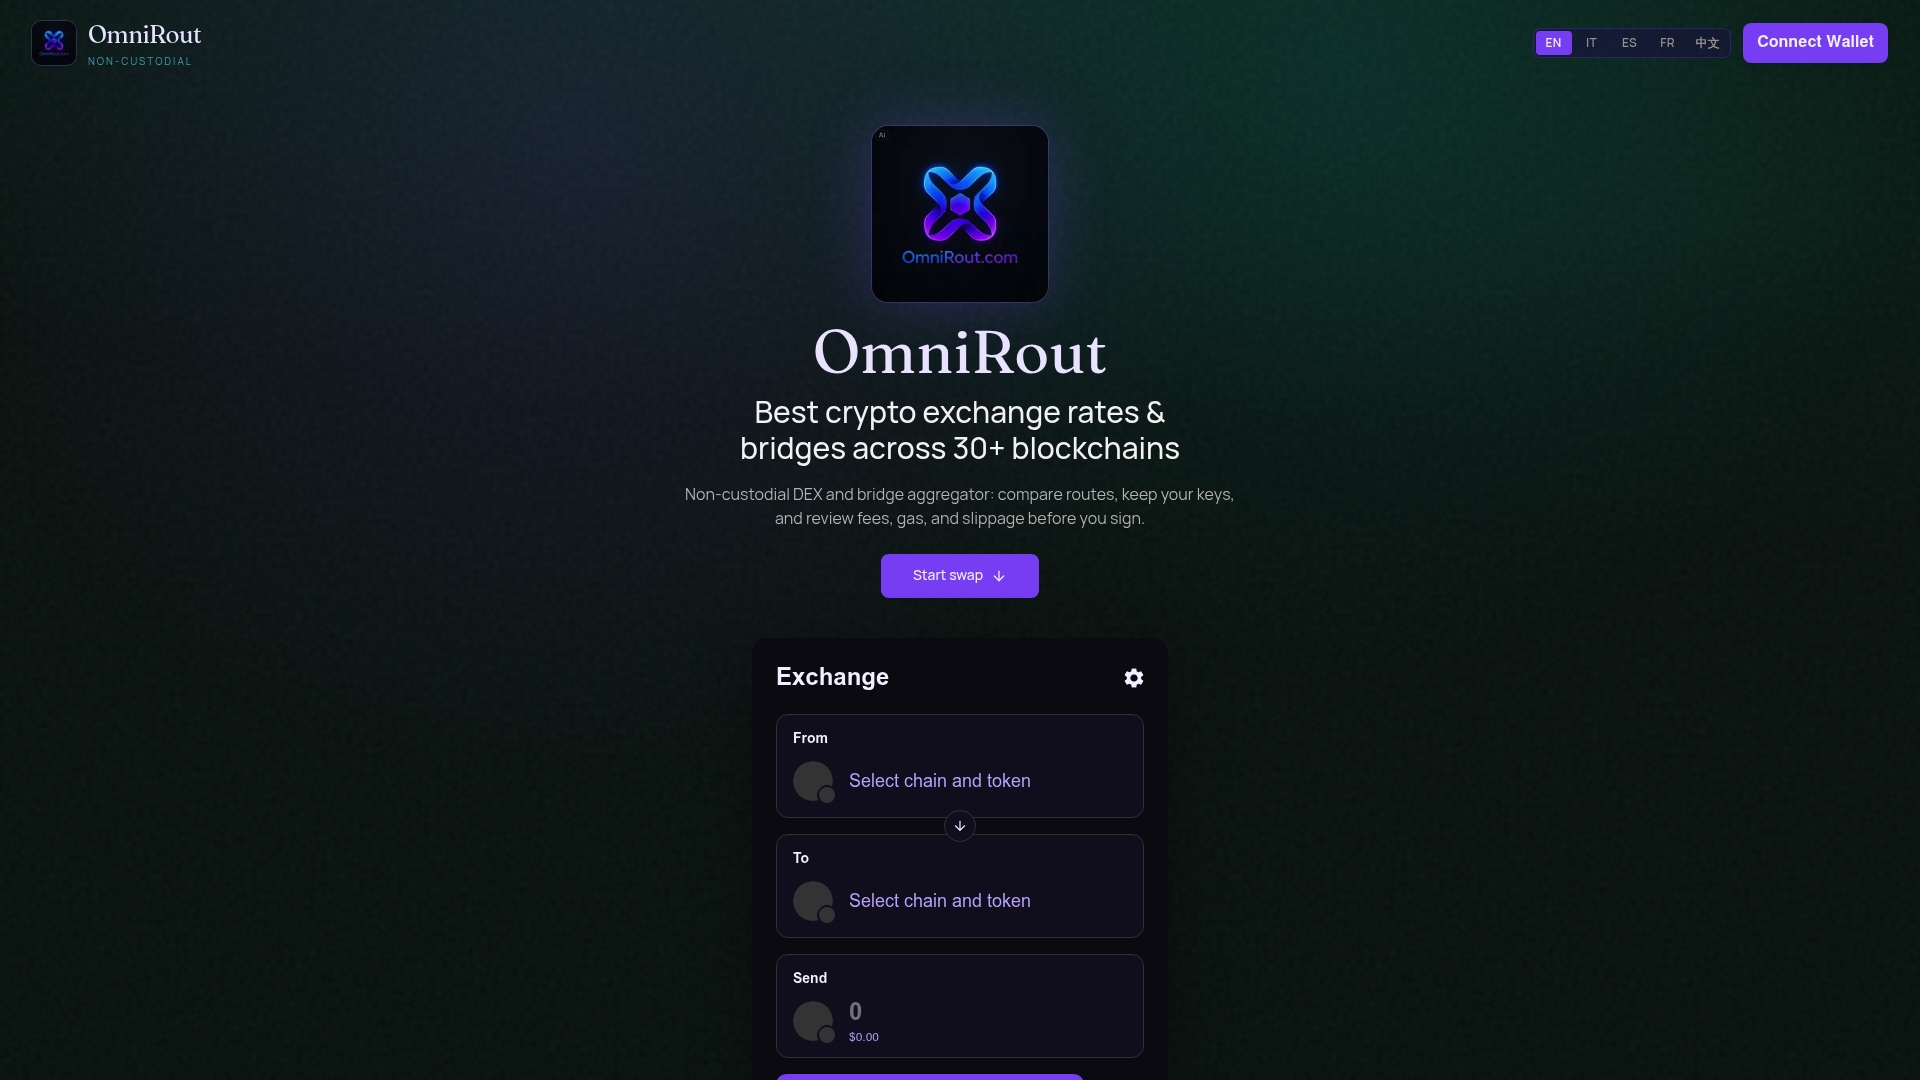
The features map directly onto the checklist. Quoted routes show your actual net receive after fees. Gas estimates are shown per chain before you commit. Slippage previews flag thin pools before they cost you money. Wallet integration handles the chain switching and signing without requiring trust in a custodial middleman.
If you want network-by-network notes on top of the general framework here, the best chain for swaps breakdown goes deeper on specific networks. Otherwise, head to OmniRout and run a live route comparison on your next trade before you decide which chain to use.
Sources
- Cross-Chain Swaps Explained: How to Swap Between Blockchains | Trust Wallet
- Cross Chain Swaps FAQs – Blockchain Support Center
- Effortless Swapping: How to Use Intent-Based Flows for... | 7BlockLabs
- Dev