
Yes, connecting works the same way almost everywhere: open the DEX, click "Connect," pick your wallet (browser extension, WalletConnect, or hardware), and approve the signature request. That connection only shares your public address, nothing more. Signing an actual transaction is a separate step that comes later, and you should never treat the two as the same action.
TL;DR:
- Ensuring your wallet is unlocked, on the correct network, and correctly connected prevents most connection issues and transaction errors.
- Use a dedicated browser profile for crypto activity to reduce risks from malicious pop-ups or fake sites during wallet connection.
- Connecting your wallet exposes only your public address, but signing approvals and transactions are where most risks and potential losses occur.
- Regularly revoke unused token approvals and disconnect dormant WalletConnect sessions to limit exposure to malicious contracts or compromised sites.
- OmniRout allows you to compare routing options across multiple blockchains after connecting your wallet, helping you save on fees and slippage before you sign.
Table of Contents
- How Do You Connect a Wallet to a DEX? A Quick Checklist
- Connecting MetaMask or Phantom Through a Browser Extension
- Connecting a Mobile Wallet Through WalletConnect
- Using a Hardware Wallet With a DEX
- Common Connection Problems and Quick Fixes
- Security Checklist: What Connecting Really Exposes
- Emanuele and OmniRout: Why Route Transparency Matters After You Connect
- Why the "Just Click Connect" Advice Undersells the Real Risk
- Try OmniRout: Connect Once, Compare Every Route Before You Sign
- Authoritative Docs and Help Pages
- Sources
How Do You Connect a Wallet to a DEX? A Quick Checklist
Before you click anything, run through this in your head. It takes about a minute and it's the difference between a smooth swap and a support ticket.
- Unlock your wallet first. Extensions like MetaMask lock after inactivity, and a DEX can't detect a locked wallet.
- Confirm you're on the right network. If you want to trade on Arbitrum but your wallet is set to Ethereum mainnet, the connect button may work but the trade won't.
- Check the URL. Phishing clones of popular DEXs are common enough that bookmarking the real site is worth the ten seconds it takes.
- Pick your connection method. Extension for desktop convenience, WalletConnect for mobile, hardware for cold storage.
- After connecting, verify three things: the address shown matches your wallet, the network matches what you intended to trade on, and your balance actually displays. If any of those looks wrong, disconnect and reconnect before doing anything else.
Pro Tip: Keep one browser profile dedicated to crypto activity. Fewer extensions running means fewer chances something intercepts a connection request or injects a fake popup.
That last verification step matters more than people assume. A DEX interface can look fully connected while quietly pointing at the wrong chain, and the first sign of trouble is usually a swap quote that makes no sense.
Connecting MetaMask or Phantom Through a Browser Extension
The extension flow is the most common way people connect a wallet to a DEX, and it follows a near-identical pattern across MetaMask, Phantom, and most EVM-compatible wallets.
Here's the sequence:
- Open your wallet extension and unlock it with your password.
- Go to the DEX and click "Connect Wallet."
- Select your wallet from the list (MetaMask, Phantom, Coinbase Wallet, etc.).
- A popup appears asking you to approve the connection, then possibly a second popup asking for a signature.
- Approve the signature. According to Ethereum, signing this message should not require spending ETH. It's proof of address ownership, not a transaction.
Once connected, look at the top corner of the DEX interface. You should see your address (usually truncated, like 0x4a2...9f1), the correct network name, and a token balance that matches what you expect.
The most common snag: MetaMask throws "Permissions request already pending, please wait" and the connect button just spins. MetaMask's help center recommends disconnecting your wallet from the site entirely, then reconnecting from scratch rather than clicking Connect repeatedly, which only stacks more pending requests.
If the connection succeeds but the balance shows zero, you're almost always on the wrong network. Some DEX front ends, including examples documented in Klaytn's DEX developer guide, will prompt you to add a custom RPC network automatically. Accept that prompt rather than switching networks manually inside your wallet first.
Connecting a Mobile Wallet Through WalletConnect
WalletConnect exists to solve one specific problem: your wallet lives on your phone, but you're trading on a desktop browser. Trust Wallet's explainer is clear on the security model here. The dApp never gets direct access to your private keys or sensitive wallet data; it only receives a connection request that your phone has to approve.
On desktop:
- Click "Connect" on the DEX and choose WalletConnect from the list.
- A QR code appears on screen.
- Open your mobile wallet app, tap the scan icon, and point your camera at the code.
- Your phone displays the connection request, including the site's domain and requested permissions. Review it, then approve.
On mobile (browser to app):
- Tap "Connect" on the DEX inside your phone's browser.
- Select WalletConnect.
- Instead of a QR code, you'll get a deep link that opens your wallet app directly.
- Approve the request inside the app, then switch back to the browser tab.
Sessions don't expire the moment you close the tab. According to the WalletConnect specification, a session stays active until you disconnect it or it hits its expiration window, and authentication only covers the specific chains included in the signed response. If you connected while authenticated on Ethereum and then try to act on Polygon, don't be surprised if the dApp asks for another signature.
Pro Tip: Check your wallet's "Connected Sites" or "Sessions" menu every so often. It's common to accumulate a dozen forgotten WalletConnect sessions from DEXs you tried once and never revisited.
Using a Hardware Wallet With a DEX
Hardware wallets add a physical confirmation step, but they connect to DEXs through one of two patterns, and mixing them up is where most confusion starts.
Pattern one: hardware through a software extension. A Ledger or Trezor plugs into MetaMask, which acts as the interface. You connect through MetaMask as usual, select your hardware account from the list, and every transaction requires a physical button press on the device itself before it broadcasts.
Pattern two: hardware directly via WalletConnect. Wallets like Tangem skip the extension entirely and pair straight through a WalletConnect QR code, similar to a mobile wallet flow, but the signature still requires a tap on the physical card or device.
- Connect the hardware device and unlock it with its PIN.
- Open the companion app or plug into the extension.
- Select the hardware account inside the DEX's wallet list.
- Approve the connection, then physically confirm any signature request on the device screen.
The connection succeeding doesn't guarantee signing will. MetaMask's signing documentation notes that Ledger and Trezor devices generally support the older personal_sign method but often lack support for eth_signTypedData_v4, which many modern DEXs use for gasless approvals. When a DEX requests a signing method your hardware doesn't support, the transaction just stalls or errors out with no useful message.
If connect works but sign fails repeatedly, try switching to a software account temporarily to confirm the DEX itself isn't the problem, or look for a DEX setting that falls back to legacy signing methods.
Common Connection Problems and Quick Fixes
Most "I can't connect my wallet" complaints actually split into four separate categories: a stuck permission, the wrong network, a dead session, or a browser blocking something. Diagnosing which one you're facing saves a lot of wasted clicking.
- Permissions request already pending. This is the single most reported MetaMask connection error. MetaMask's support documentation recommends disconnecting the site from your wallet's connected-sites list, refreshing the page, and reconnecting from a clean state.
- Wrong network selected. If the DEX loads but shows no balance or an error about unsupported chains, open your wallet and manually switch networks, or accept the DEX's prompt to add a custom RPC if one appears.
- Stale WalletConnect session. Sometimes a session looks connected on the DEX but has actually expired on the wallet side. Open your wallet's session manager, revoke the old connection, then reconnect fresh.
- Pop-up blockers or blocked third-party cookies. Extension wallets rely on browser pop-ups to show approval windows. If nothing happens when you click Connect, check whether your browser silently blocked a pop-up, or open the extension icon directly instead of waiting for it to appear.
As a last resort, three steps tend to fix the stubborn cases: clear your browser cache for that specific site, fully restart the browser (not just the tab), or reimport your wallet using your seed phrase on a fresh browser profile. That last option should be rare, and only ever done with your seed phrase typed manually, never pasted from a screenshot or a message.
Pro Tip: Before assuming your wallet is broken, test the connection on a completely different DEX. If it fails everywhere, the problem is your wallet or browser. If it only fails on one site, the problem is that site's configuration.
Security Checklist: What Connecting Really Exposes
Connecting a wallet to a DEX shares your public address. That's it. Your private keys stay on your device or hardware wallet the entire time, and no legitimate connection request should ever ask you to type in a seed phrase.
The actual risk lives one step further down the chain, in the approvals and signatures you grant after connecting.
- Review every approval popup for the exact token and the exact amount, not just the token name.
- Revoke unused or oversized token approvals periodically, especially after using a DEX you don't trade on regularly.
- Bookmark the DEXs you use and never click through a search ad or a link in an unsolicited message.
- Check gas and fee estimates before confirming, since an unusually high fee can be a sign something's off with the transaction itself.
- Open your wallet's session or connected-sites manager and disconnect anything you're not actively using.
| Action | What it protects against |
|---|---|
| Reviewing approval amounts | Unlimited token allowances granted to a malicious contract |
| Revoking old approvals | Dormant permissions from DEXs you no longer use |
| Bookmarking trusted DEX URLs | Phishing clones designed to steal signatures |
| Disconnecting idle sessions | Stale WalletConnect pairings being reused without your knowledge |
| Verifying gas/fee before signing | Transactions padded with hidden costs or malicious calldata |
Emanuele and OmniRout: Why Route Transparency Matters After You Connect
Connecting safely is only half the job. Once your wallet is linked, the next decision, which route your swap actually takes, determines what you pay.
OmniRout operates as a non-custodial DEX and bridge aggregator, meaning your keys never leave your own wallet at any point in the process. After you connect using the same extension, WalletConnect, or hardware patterns covered above, OmniRout compares routes across more than 30 blockchains and shows you the fees, gas costs, and slippage for each option before you sign anything.
The moment that matters most in a DEX transaction isn't the connect click. It's the ten seconds between seeing a quote and approving it. That's where route visibility either saves you money or lets a bad price slide through unnoticed.
For anyone moving assets across chains, that same visibility extends to bridging, and for hardware wallet holders specifically, the Ledger swap guide walks through signing behavior in more depth than a general connection tutorial can cover.
Why the "Just Click Connect" Advice Undersells the Real Risk
Most tutorials treat wallet connection as the hard part and everything after as a formality. That's backwards. Connecting a wallet is genuinely low-risk. The moment that deserves real caution is the signature request that follows, especially token approvals with unlimited spending caps, which is exactly where most DEX-related losses actually originate.
The conventional advice to "just double-check the URL" is fine but incomplete. URL-checking catches phishing clones. It does nothing for a legitimate DEX serving a malicious token or a contract with a deceptive approval request. The habit worth building isn't vigilance at the connect stage, it's vigilance at the signature stage: read what you're approving, question amounts that look unlimited, and treat every signing popup as a decision rather than a formality.
If you take one thing from this guide, prioritize session hygiene over connection paranoia. Revoke old approvals, close idle WalletConnect sessions, and reconnect fresh when something looks off. That habit prevents more damage than any amount of URL-squinting ever will.
— Emanuele
Try OmniRout: Connect Once, Compare Every Route Before You Sign
OmniRout works with the exact same connection patterns covered throughout this guide: click Connect, choose your extension, WalletConnect, or hardware wallet, and approve the signature. Nothing about the connection step changes.
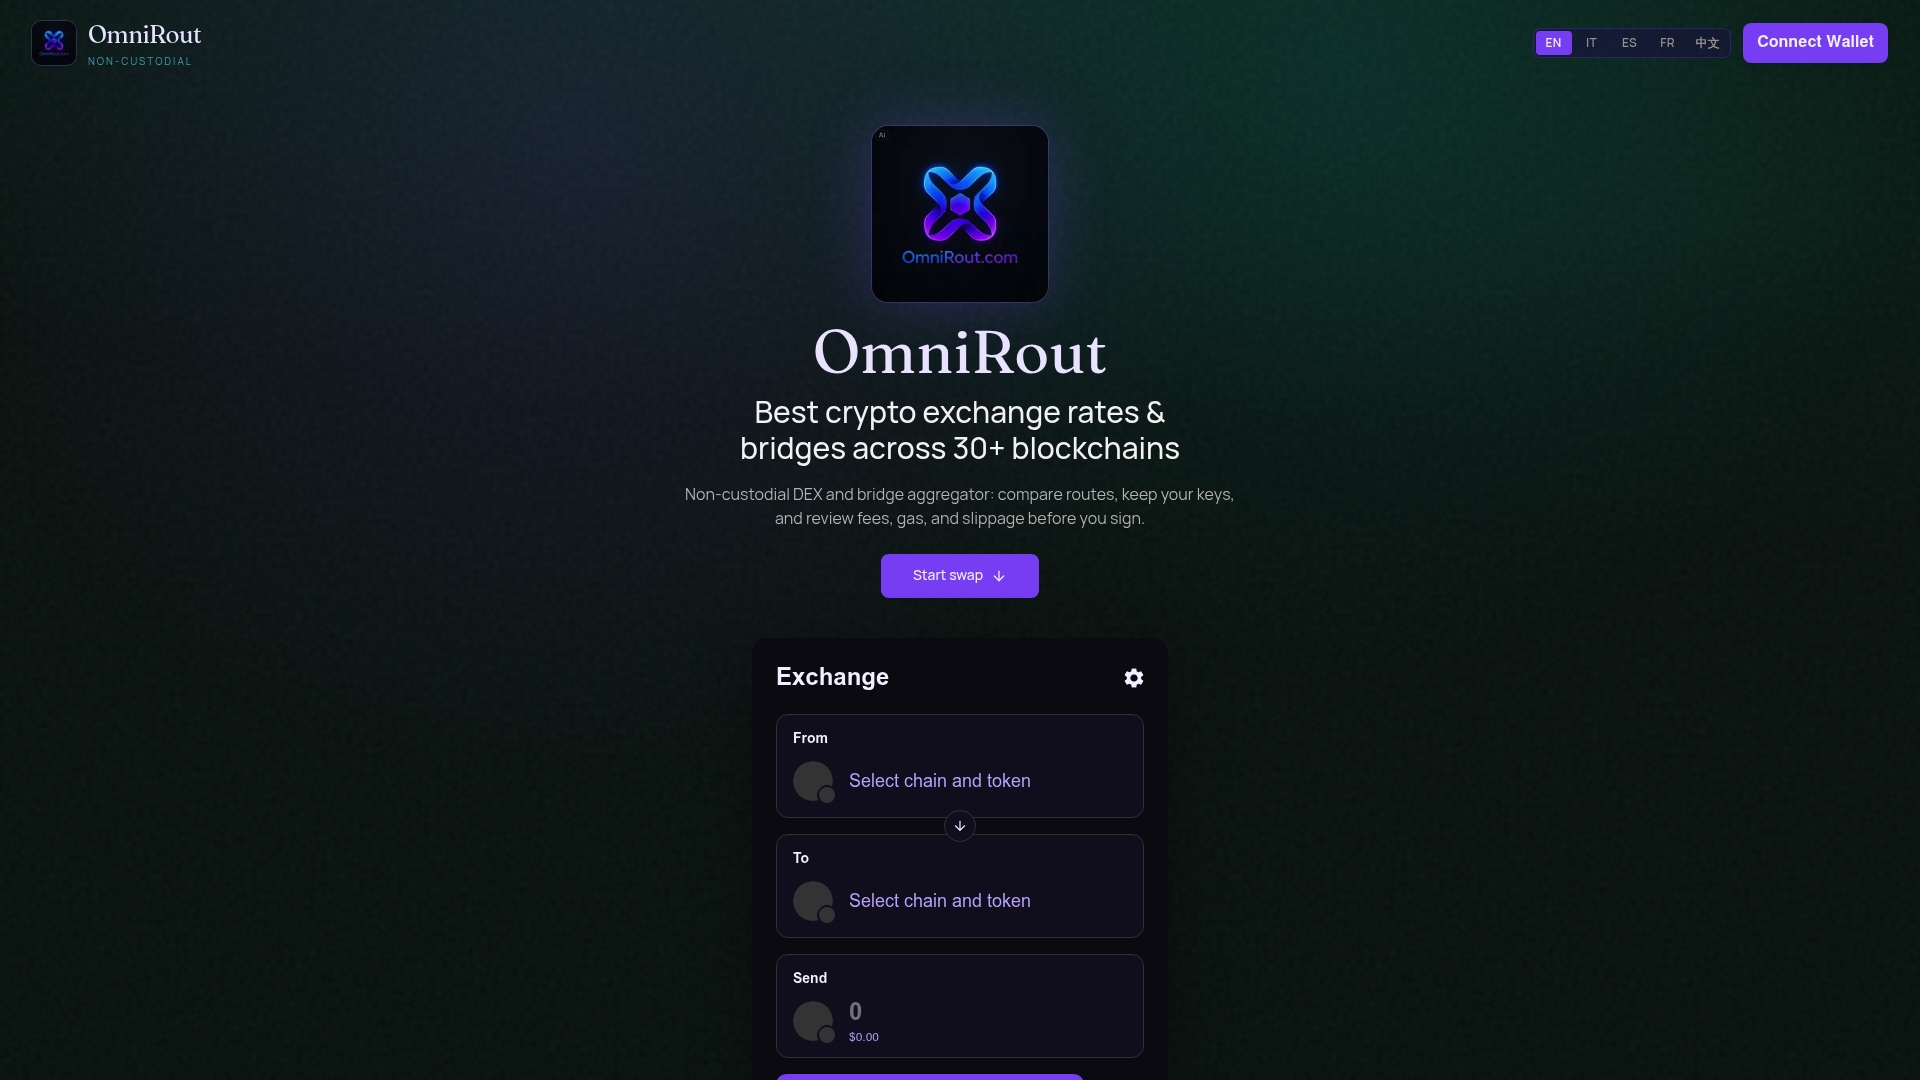
What changes is what happens next. Instead of committing to whatever price a single DEX quotes you, OmniRout pulls routes across more than 30 blockchains and lays out the fees, gas costs, and slippage side by side, before you approve a single signature. You keep full custody of your keys the entire time since OmniRout never takes control of your assets at any step.
If you're about to swap or bridge and want to see the full cost picture first, connect your wallet on OmniRout and compare your options before signing anything.
Authoritative Docs and Help Pages
For deeper protocol-level reference beyond this guide:
- Ethereum, covering the standard connect and signing flow.
- WalletConnect Wallet Authentication spec, detailing pairing, sessions, and CACAO authentication.
- MetaMask Help Center DEX connection guide, for pending permission errors.
- Trust Wallet's WalletConnect explainer, for the mobile pairing model.
- Kraken's WalletConnect support page, for desktop and mobile flow comparisons.
Sources
- Ethereum
- How to fix issues connecting to a decentralized exchange (DEX) | MetaMask Help Center
- Wallet Authentication | WalletConnect Specs