
The best swap route is the one with the highest net amount received after every pool fee, gas charge, and slippage cost, and whose bridge design fits how much custody risk you're willing to take. A route showing a great headline rate can still lose to a "worse looking" one once you subtract three hops of gas and a shaky bridge model. OmniRout exists to make that math visible before you sign anything. The checklist below walks through exactly what to check and why.
TL;DR:
- Multi-hop routes can significantly reduce slippage on large trades through deep pools, but added gas costs may negate benefits for smaller transactions.
- Comparing net received after all fees, gas, and slippage is essential, as headline rates often hide hidden costs and risks.
- Cross-chain bridging risks vary, with reserve-based bridges depending on custodial reserves, while non-custodial designs reduce custody concerns but require careful contract checks.
- Running small test transactions and evaluating multiple route options helps avoid costly mistakes and reveals actual execution quality.
- Using non-custodial tools like OmniRout allows for transparent route comparison without risking asset custody or relying solely on quoted rates.
Table of Contents
- What Makes One Swap Route Better Than Another?
- Route Comparison Checklist: What Numbers Actually Matter
- How Do You Compare Routes Step by Step?
- When Does Paying More Gas Actually Win?
- What Custody Risks Should You Check Before Bridging?
- A Routing Mistake I See Constantly
- Compare and Execute Routes Without Giving Up Your Keys
- Sources
- FAQ
What Makes One Swap Route Better Than Another?
A swap router, a DEX aggregator, and a bridge aggregator solve overlapping but distinct problems. A swap router picks the execution path within a single chain, sometimes routing through an intermediate token and multiple pools to land a better price. A DEX aggregator compares several routers and liquidity venues at once. A bridge aggregator goes further still, comparing the underlying cross-chain transports themselves, weighing security, speed, and cost against each other.
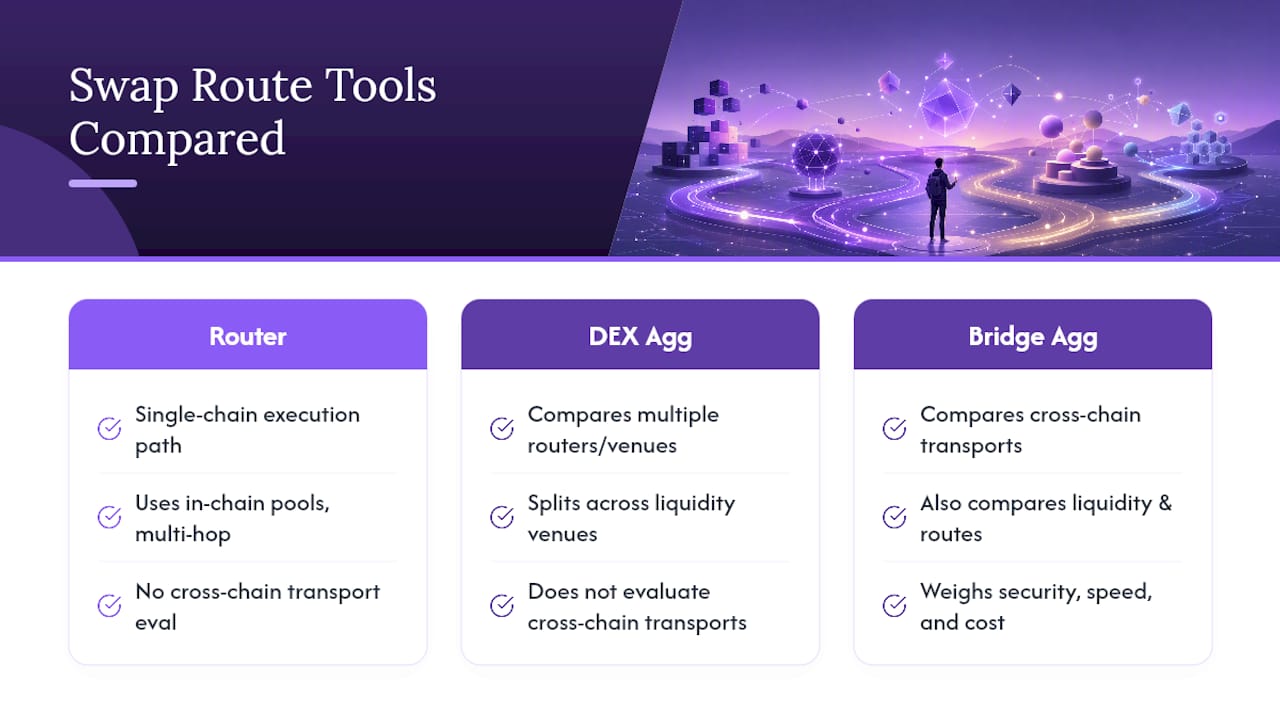
Multi-hop routing exists because deep liquidity is rarely sitting in one pool. Splitting an order across venues, or routing through two or three pools instead of one thin pair, can reduce price impact meaningfully. The catch is that every added hop means another contract call, and every contract call costs gas. A three-hop route through deep pools can beat a one-hop route through a shallow one, but only if the gas difference doesn't eat the slippage savings. That trade-off is the entire game.
Route Comparison Checklist: What Numbers Actually Matter
Ignore the quoted rate on its own. It's marketing, not math. What you actually want is a side-by-side comparison of everything that eats into that number between quote and wallet.
- Headline rate vs. amount received: the quote is the starting point; the "you will receive" figure after all deductions is the only number that matters.
- Per-hop pool and protocol fees: each swap leg usually charges its own fee, and these stack across a multi-hop path.
- Gas or priority fees on every chain touched: a route that crosses two chains pays gas twice, sometimes in different fee markets entirely.
- Slippage and price impact: a shallow pool can look cheap on paper and still cost you 2% or more once your order actually moves the price.
- Bridge fees and latency: faster bridges tend to charge more, and a slower bridge that saves you 0.1% isn't a bargain if you need the funds in ten minutes.
- Bridge model, native vs. wrapped: this determines what you actually hold on the other side, and it changes your risk profile more than any fee line does.
Remember that a bridge and a swap solve different problems: a bridge keeps the same asset and moves it to another chain, while a cross-chain swap changes the asset during transit. Confusing the two leads people to compare routes that aren't actually comparable.
How Do You Compare Routes Step by Step?
Running this in five minutes before you commit funds is worth more than any amount of reading about it afterward.
- Pull up the per-hop breakdown. Most aggregators let you expand each route to see individual fees and gas estimates per leg. Do this for at least two or three candidate routes, not just the top one.
- Calculate net received for each. Subtract pool fees, gas, and expected slippage from the quoted output. The route with the highest number after subtraction wins, not the one with the prettiest headline rate.
- Decide if the order needs splitting. For large trades, order splitting or TWAP-style execution across pools or time reduces the price impact a single large fill would cause.
- Set your slippage tolerance deliberately. Too tight and the transaction fails during volatility; too loose and you're exposed to worse fills or MEV extraction. Adjust priority fees if the chain is congested and speed matters.
- Run the safety checks before you send real size. Confirm the bridge type, verify the contract addresses match the official ones, and send a small test amount first.
Pro Tip: Run the same trade through two different routes on a small test amount first. The gap between their actual net output, not their quoted rate, tells you more about real execution quality than any interface number will.
When Does Paying More Gas Actually Win?
A large swap through a deep pool with an extra hop and added gas can still beat a direct route through a shallow pool losing a noticeable percentage to price impact, which on that size represents a significant cost difference. The gas cost is a rounding error compared to the slippage saved.
Flip the size, though, and the math flips too. Small trades punish complexity; large trades punish shallow liquidity.
Cross-chain adds another layer. Bridging first and swapping once on the destination chain sometimes beats a series of same-chain swaps followed by a bridge, because it touches fewer total pools even though it adds bridge latency.
- Deep pool, extra hop, large order: gas cost is trivial next to slippage saved.
- Shallow pool, extra hop, small order: gas overhead outweighs any slippage gain.
- Large cross-chain order: splitting the order and routing dynamically during execution protects net output better than a single static route decision made upfront.
The pattern holds across most chains: trade size decides whether complexity pays for itself.
What Custody Risks Should You Check Before Bridging?
Bridge design determines what you're actually trusting, and the differences are not cosmetic. Lock-and-mint bridges hold your original asset in a reserve contract and issue a wrapped version elsewhere, meaning your funds are only as safe as that reserve and whoever controls it. Liquidity-pool bridges swap directly between pre-funded pools on each side, which removes the wrapped-asset dependency but shifts risk onto pool solvency and the validators or relayers coordinating the transfer. Resolver and HTLC-based designs can settle atomically without a custodial intermediary at all, though they depend on resolver liquidity being available for your specific route.

Check the receiving token's contract on the destination chain before you bridge; a "wrapped" or "bridged" label in the name is your first clue you're not holding the native asset. For larger transfers, prefer native or canonical bridges over speed, diversify across more than one bridge rather than moving everything at once, and always send a small test transaction first. Look for published audits, multisig thresholds on any reserve contract, and time-delay withdrawal windows that would catch a compromised signer before it can drain funds.
A Routing Mistake I See Constantly
The most common error self-custodial traders make isn't picking a bad route. It's stopping the evaluation at the quoted rate and never opening the fee breakdown underneath it. A quote that looks 0.4% better can hide a bridge model that leaves you holding a wrapped asset with thin redemption liquidity, which is a far bigger risk than the 0.4% you gained.
Net received after all costs, checked against your own custody tolerance, beats chasing the best headline number every time. That's not a hedge, it's the actual math: a route can be numerically cheaper and still be the worse trade once you account for what you're trusting to get there. Treat any comparison tool, OmniRout included, as one input that surfaces the numbers, not as a guarantee that a route is risk-free.
— Emanuele
Compare and Execute Routes Without Giving Up Your Keys
This platform gives you the exact side-by-side comparison this checklist calls for across multiple blockchains, without ever taking custody of your assets.
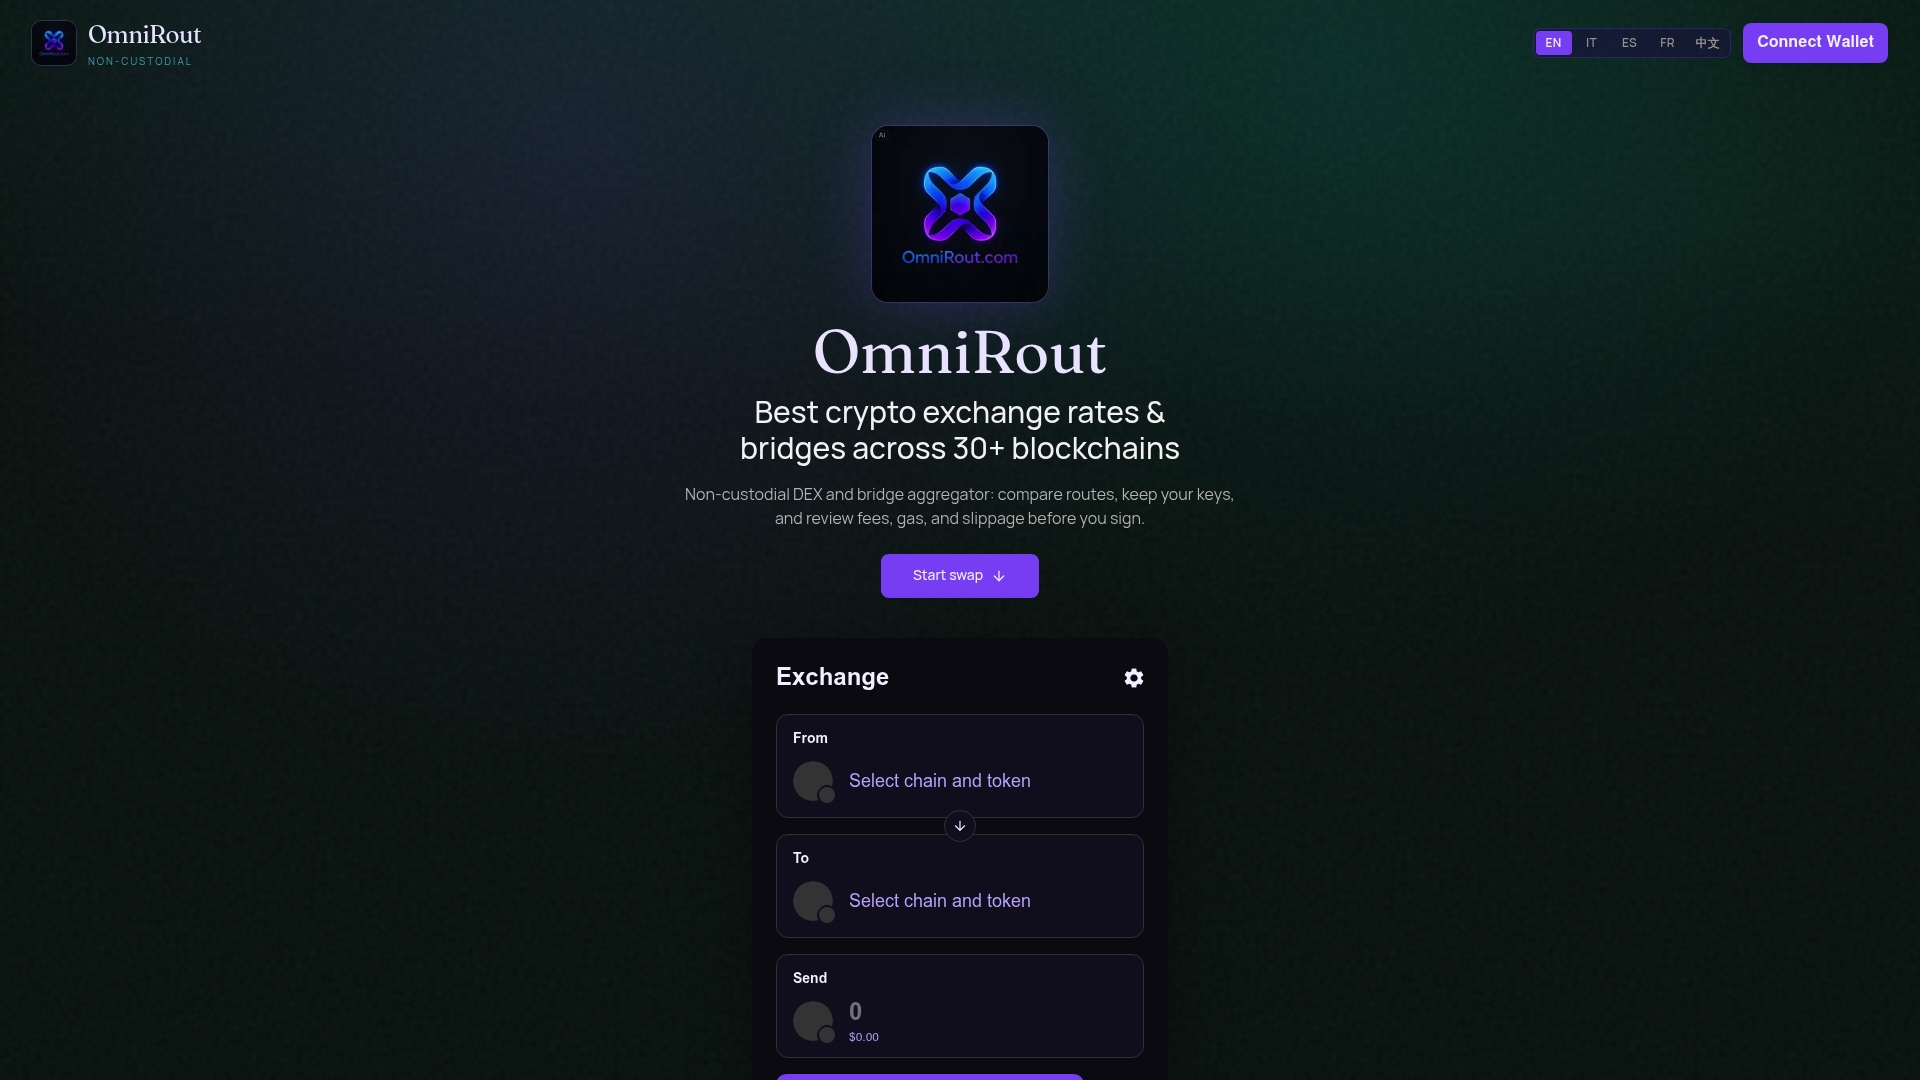
Every route surfaced shows pool and bridge fees, per-chain gas estimates, and slippage preview before you sign anything, so you can compute net received across two or three candidates the way the checklist above walks through. The interface is non-custodial end to end, meaning your keys stay in your wallet through comparison and execution alike.
Start by connecting your wallet and running a comparison on a trade you're already considering. Look at the per-hop breakdown, check whether the bridge involved is native or wrapped, and send a small test amount before committing full size. Then head to the OmniRout platform to run your first route comparison and see the net numbers for yourself.
Sources
- What are Crypto Bridges? Risks & Best Practices - Bitcoin Foundation
- How do cross-chain aggregators calculate the most cost-efficient route for massive spot swaps? - CoinDecimal
- Cross-Chain Bridge Security Guide: Safe Bridging Strategies | Thrive
FAQ
What Does It Mean to Compare Swap Routes?
Comparing swap routes means checking the net amount you'll actually receive after pool fees, gas, bridge costs, and slippage across two or more paths, instead of trusting the headline quote alone.
Is a Direct Route Always Cheaper Than a Multi-Hop Route?
No. A multi-hop route through deeper liquidity often beats a direct route through a shallow pool on larger trades, though the extra gas can outweigh the benefit on small trades.
How Do I Know If a Bridge Is Custodial?
Check the receiving asset's contract on the destination chain; a wrapped or bridged token name signals a reserve-based model, while native issuance and resolver/HTLC designs carry less custody risk.
Can OmniRout Help Me Compare Routes Without Giving Up Custody?
Yes. OmniRout shows fees, gas estimates, and slippage across routes on multiple blockchains while keeping the transaction non-custodial throughout.
What Slippage Tolerance Should I Set for a Volatile Market?
Set it wide enough that the trade doesn't fail during normal price movement, but tight enough to avoid poor fills or MEV extraction, adjusting per trade size and chain congestion rather than using one fixed number everywhere.